
Introduction
Installing a heat recovery ventilation system looks simple on paper: mount a box, run some ducts, plug it in. In practice, it's one of the more technically demanding HVAC installations a building can undergo.
Performance depends on getting several details right at once:
- Accurate ventilation calculations and correct duct sizing
- Airtight penetrations and proper electrical work
- Condensate management and final airflow balancing
Skip any of these and the unit may run perfectly while still failing to ventilate the building.
This work falls to qualified HVAC or mechanical contractors, trained in-house facilities teams following an engineered design, or specialists experienced in ventilation commissioning.
A poor install can trigger serious problems:
- Inadequate fresh-air delivery or building pressure imbalance
- Excess noise, condensation, or frost on the unit
- Energy waste, equipment damage, costly rework, or voided warranties
This guide walks through preparation, installation, system integration, and validation, so the project ends with a system that actually performs as designed.
Key Takeaways
- Start with sizing and building assessment, not equipment mounting
- Correct duct insulation, sealing, and termination placement prevent most field failures
- Airflow must be measured and balanced, not estimated from fan speed settings
- Retrofits, combustion appliances, and process exhaust require qualified engineering review
- Documentation and commissioning data protect performance and warranty coverage
Installation Guide for a Heat Recovery Ventilation System
A proper HRV installation follows four phases: assess and design the system, prepare the site, install and integrate the equipment, then test, balance, and document the result. In commercial or occupied buildings, this typically means coordinating HVAC, electrical, controls, building-envelope, plumbing, and structural trades, not just hanging a unit and wiring it in.
Prerequisites and Safety Considerations
Before anyone orders equipment, the ventilation design needs to be locked in. Occupancy, floor area, room use, climate, building airtightness, and required outdoor-air rates all determine HRV capacity and airflow settings.
Code minimums give a useful baseline. The 2024 International Residential Code requires a continuous outdoor-airflow rate of 60 cfm for a 2-3 bedroom home between 1,501 and 3,000 square feet, per IRC Chapter 15, Section M1505.4.3. Commercial projects follow ASHRAE 62.1's combined people-based and area-based rates instead. Always check the locally adopted code edition before finalizing numbers.
Next, confirm the technology fits the application:
- HRV: transfers heat only, works well in cold, dry climates or homes with excess winter humidity
- ERV: transfers heat and moisture, better suited to humid climates or buildings needing moisture balance
- Buildings with unusual exhaust streams (chemical fumes, process contaminants) need a reviewed energy-recovery approach, not a standard residential unit
Survey the installation location and routing paths early: basements, mechanical rooms, attics, rooftops, or ceiling voids all present different access, structural, and condensate-disposal challenges. Confirm service access, structural support, and penetration locations before anything is ordered.
Finally, nail down safety and compliance requirements:
- Electrical disconnection and grounding procedures
- Fall protection for rooftop or attic work
- Fire and smoke-sealing requirements at rated penetrations
- Outdoor termination clearances per local mechanical code
- Combustion-air and backdrafting risk review near gas appliances
Stop work if any of these conditions exist:
- Inadequate structural support or no service access
- Incompatible equipment or unsafe electrical conditions
- Unapproved penetrations or missing condensate provisions
- Exhaust air with hazardous chemicals not reviewed by a qualified engineer
Tools and Parts Required
A typical installation checklist includes:
- The selected HRV and manufacturer-approved mounting hardware
- Approved ductwork, fittings, and insulated outdoor-air duct sections
- Duct sealant and approved tapes (not generic cloth tape)
- Exterior intake and exhaust terminations with weather protection
- Filters, fasteners, and vibration isolation hardware
- Electrical and low-voltage control components
- Condensate tubing or a pump, where the model requires one
Some tools are project-dependent rather than universal. Commissioning and commercial work often call for calibrated airflow instruments, pressure gauges or manometers, electrical testers, lifting equipment for rooftop units, and access equipment for ceiling-mounted installs.
Duct quality matters more than most installers expect. Flexible ducts in unconditioned space need continuous insulation and a vapor barrier, with every joint, seam, and liner hole sealed (guidance confirmed in the Department of Energy's Building America resource on sealed and insulated flex ducts). Short, straight, taut duct runs with minimal bends reduce friction loss and keep the system closer to its design airflow.
Never substitute duct sizes, controls, filters, drains, or termination assemblies without checking the effect on airflow and warranty coverage. Manufacturer manuals exist for a reason — follow them.
How to Install a Heat Recovery Ventilation System: Step-by-Step
Installation should follow a documented sequence. Shortcuts here — undersized ducts, excessive bends, unsealed joints, poorly located terminations — increase static pressure and reduce delivered airflow, often without any obvious symptom.
Prepare the site. Confirm dimensions, structural support, service clearances, and access-panel orientation. Route the unit away from flooding, freezing, dust, or other damaging conditions, and plan vibration isolation before mounting.
Position and secure the HRV. Keep it level where required, prevent vibration transfer into occupied spaces, and preserve clear access to filters and the heat-exchange core. Don't tuck it somewhere maintenance becomes a chore — that guarantees it gets skipped.
Install and connect the duct system. Route outdoor-air intake, stale-air exhaust, fresh-air supply, and indoor-air return on short, smooth paths. Size ducts correctly, seal every joint, insulate runs in unconditioned space, and keep straight-duct velocities under 500 fpm to cut noise and pressure loss.
Install exterior terminations. Separation distances, weather protection, screening, drainage, and envelope flashing all matter here. Follow local code and manufacturer clearances rather than a single universal dimension — requirements vary by jurisdiction and by whether a factory combination termination is used.
Complete electrical, controls, and condensate work. Wire power and grounding, set low-voltage controls (boost, occupancy, frost protection), and install condensate drainage where required. Configure any air-handler or building-automation interlocks at this stage.

A few field details worth flagging: stale-air exhaust registers typically sit 6 to 12 inches from the ceiling on an interior wall, and should never be installed in a room with a combustion device, such as a gas water heater or fireplace. Where duct runs hit sharp corners, turning vanes can cut static pressure losses at that corner by as much as 85%, a meaningful difference on tight mechanical-room layouts.
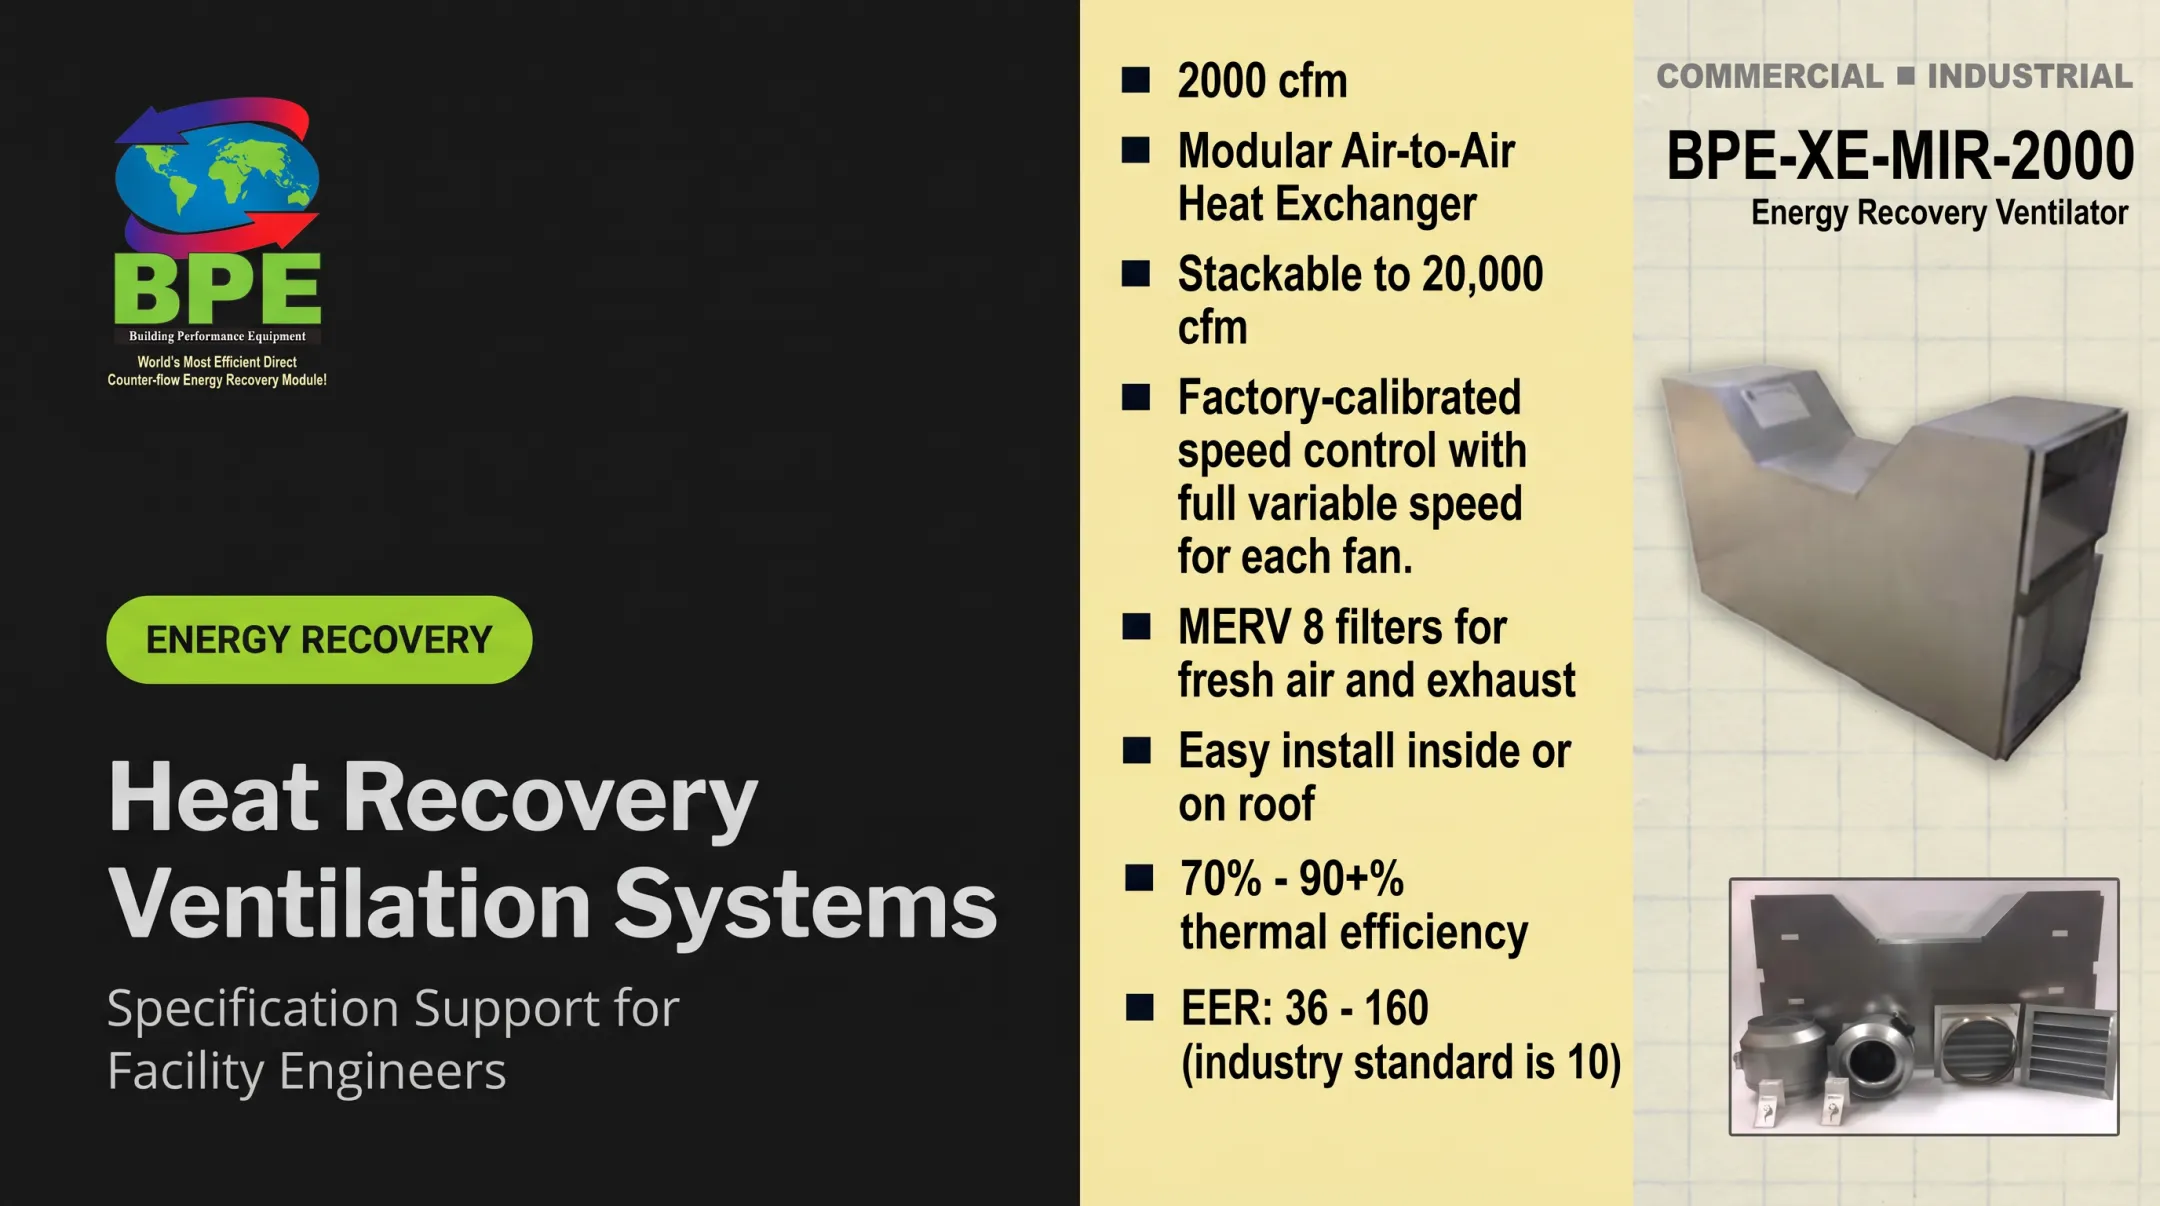
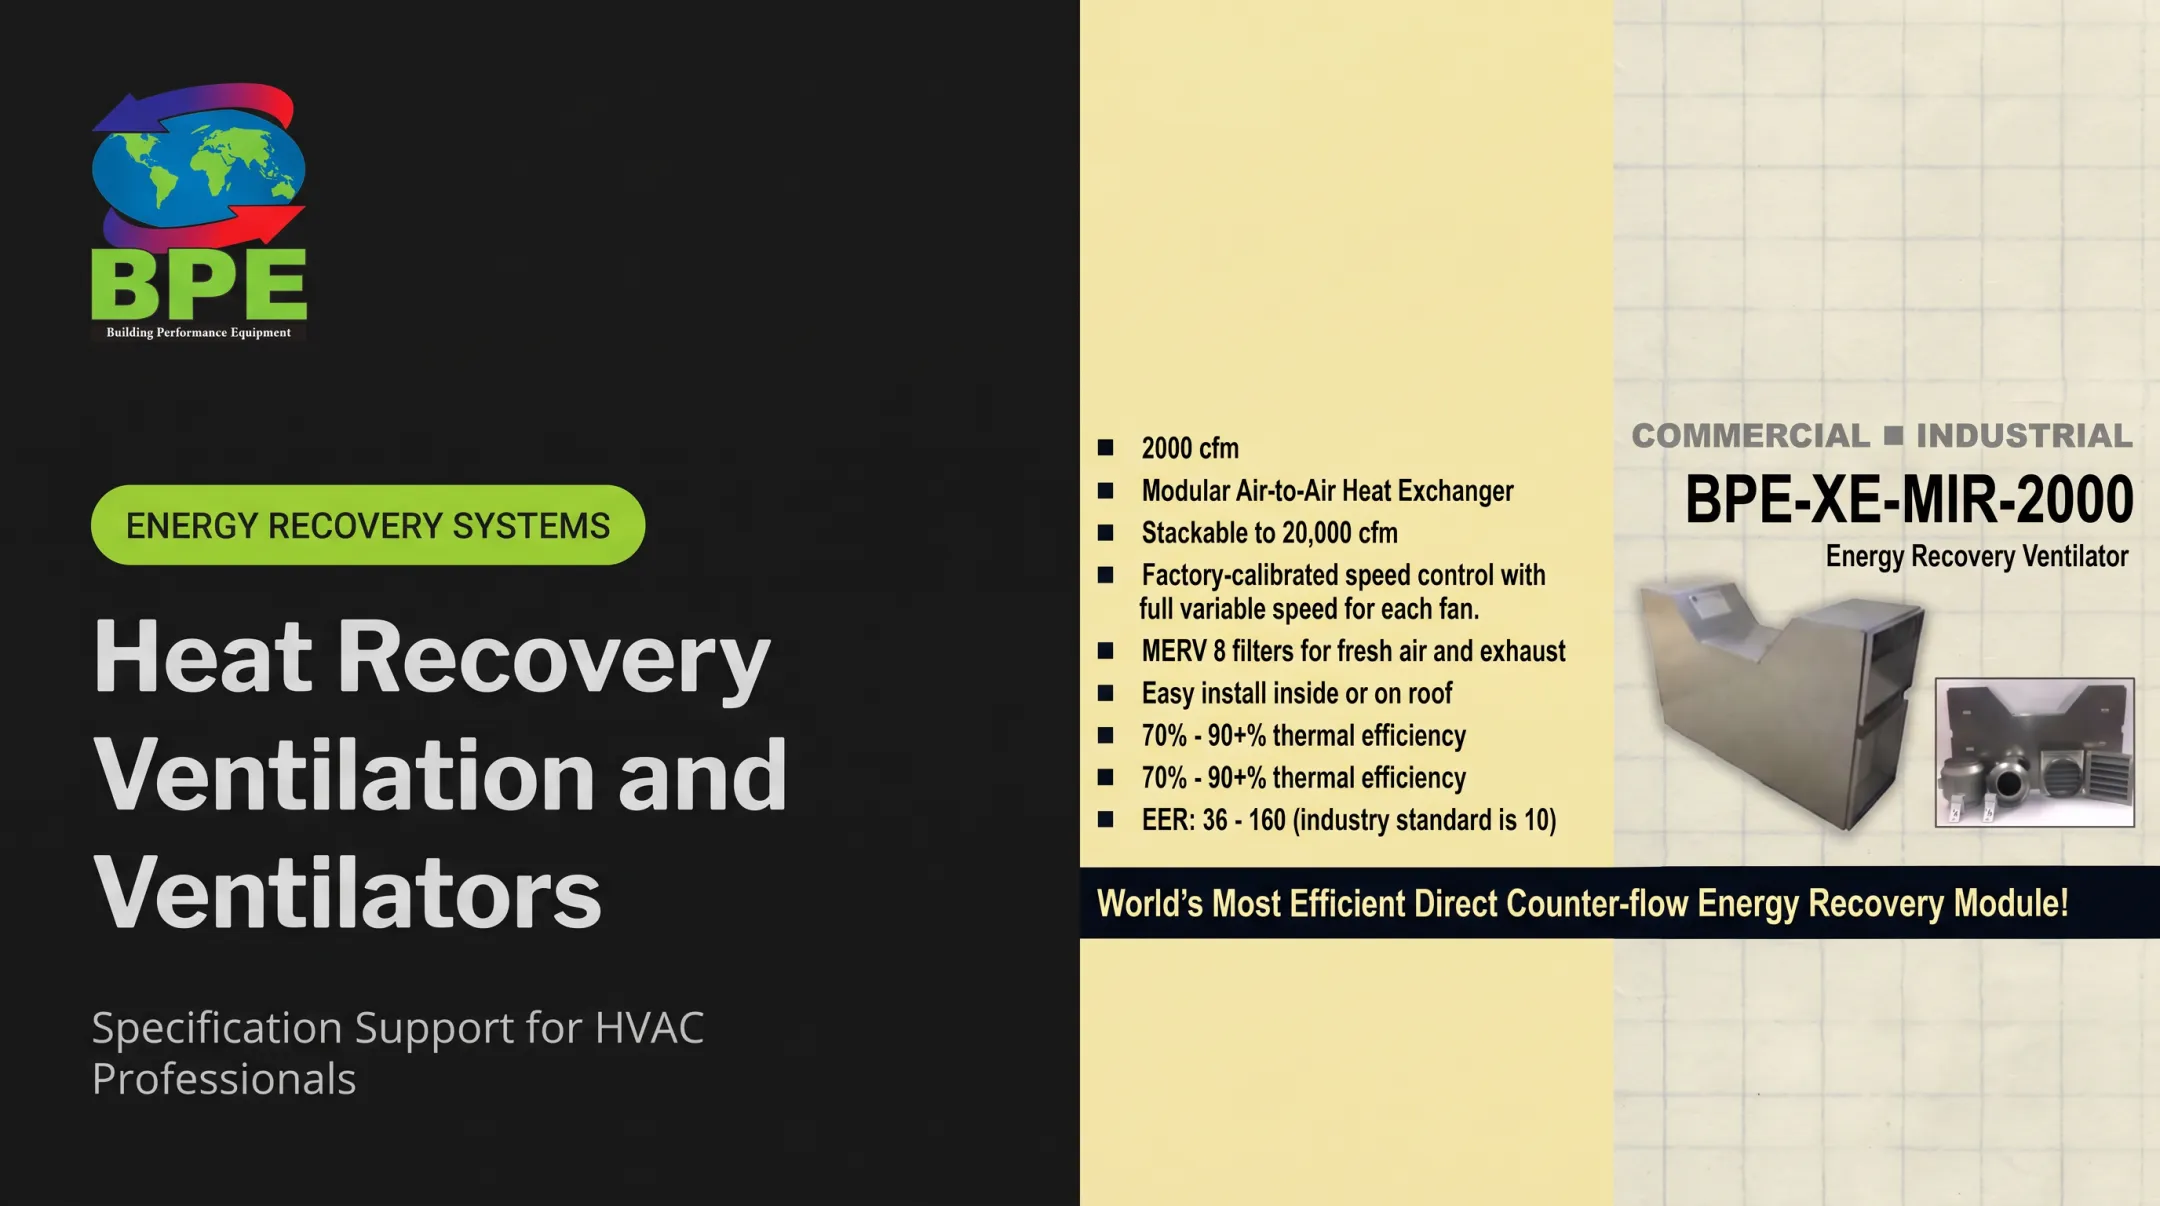
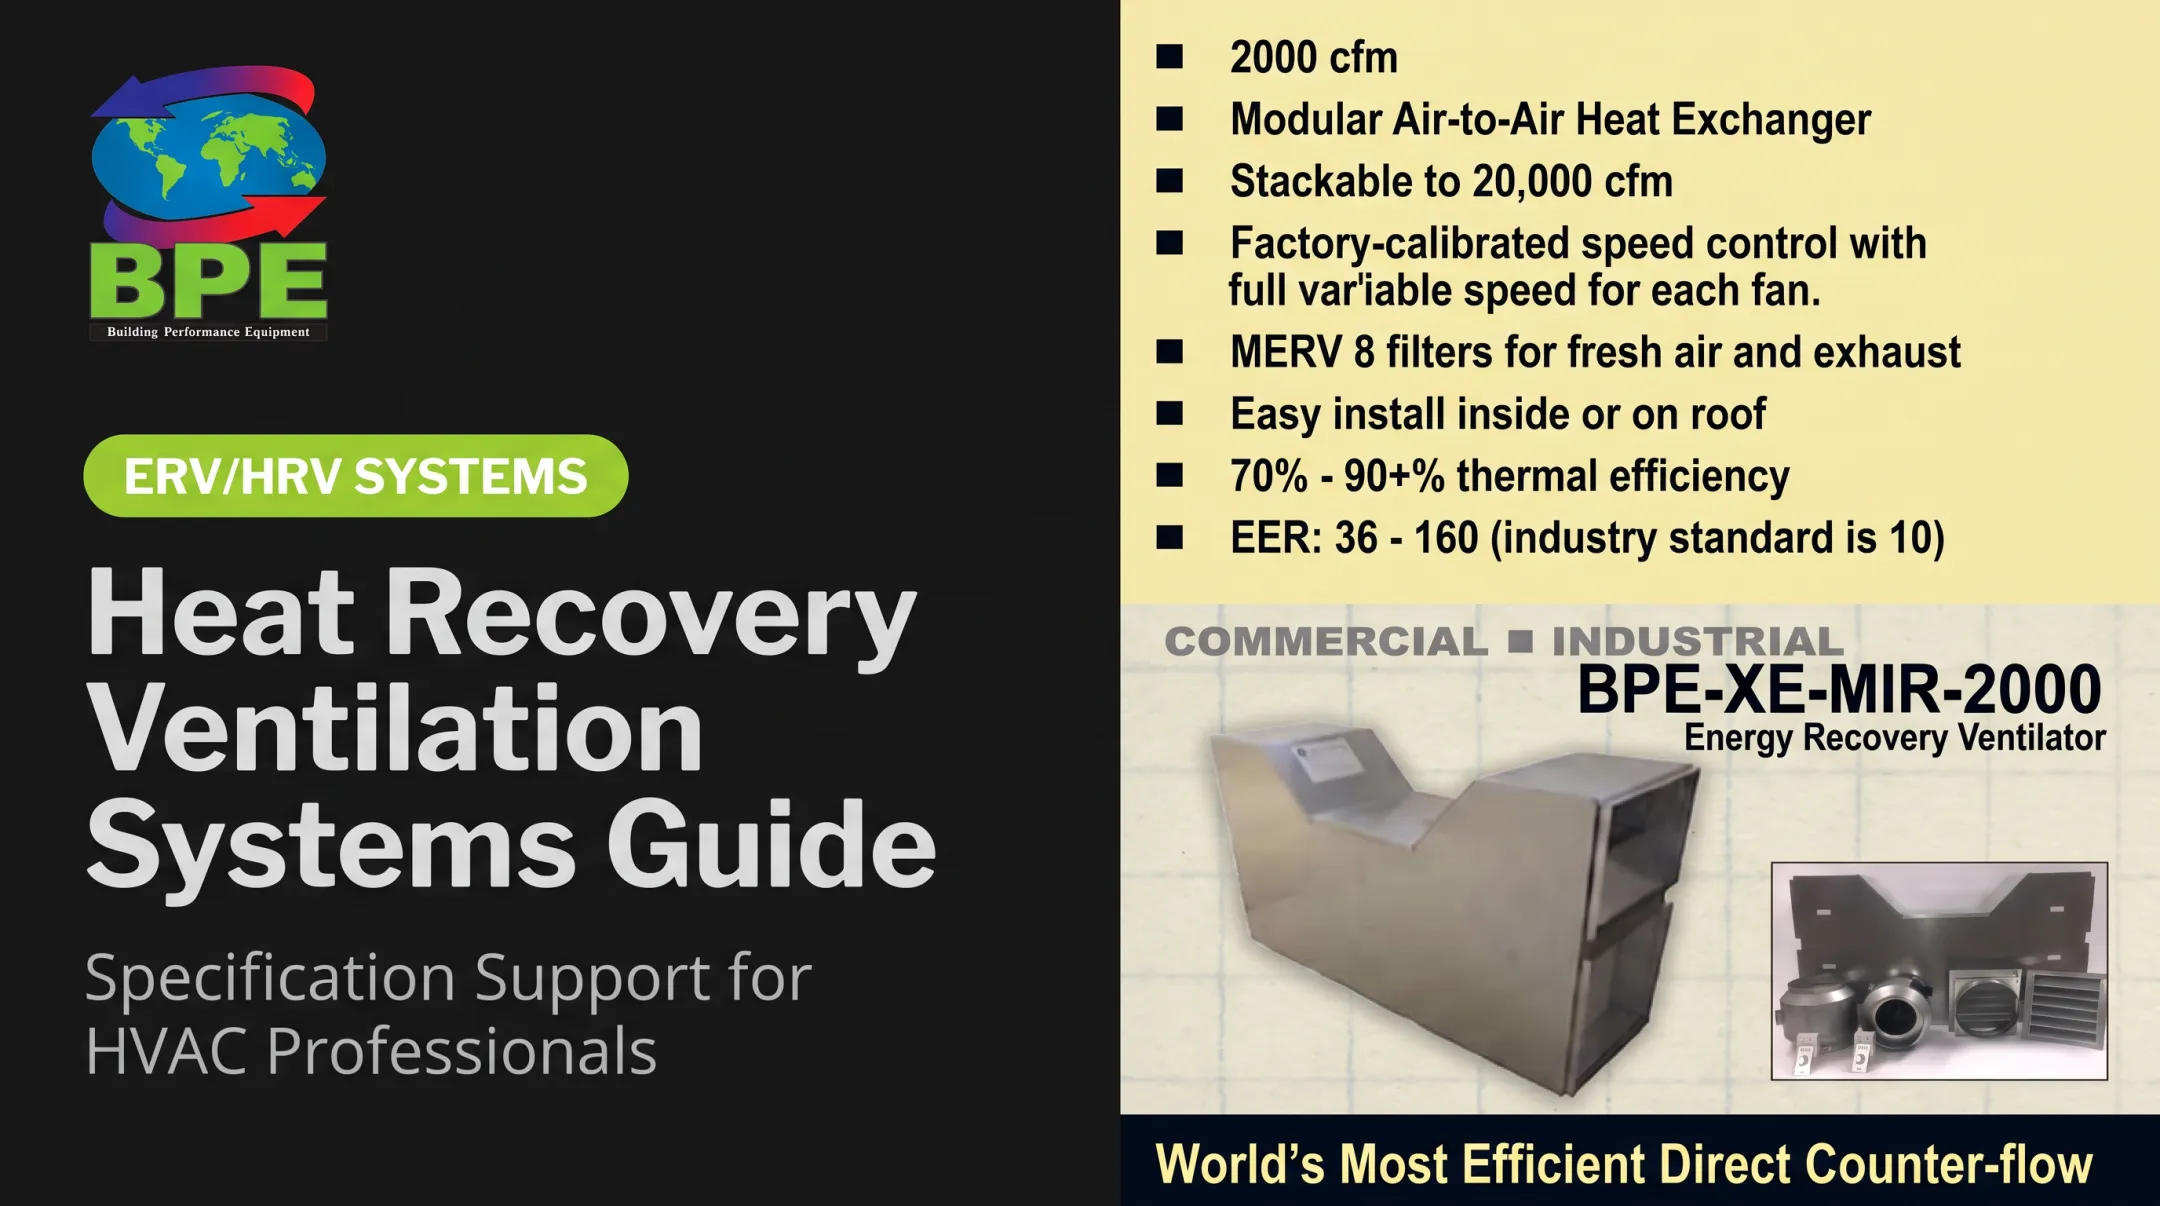
Choosing the right equipment matters as much as the installation itself. Building Performance Equipment supplies high-efficiency air-to-air energy recovery equipment, including counter-flow cores capable of reaching over 90% thermal effectiveness, compared with roughly 75% for cross-flow designs. Before specifying any model, project teams should verify airflow capacity, static-pressure rating, controls compatibility, and installation requirements against the actual job conditions.
Post-Installation Checks and Validation
Before energizing anything, run a visual and structural check: fasteners, supports, vibration isolation, duct seals, insulation, filters, access panels, electrical connections, exterior terminations, condensate routing, and fire or weather seals.
Then test basic operation in every mode:
- Fans start correctly and airflow moves in the intended direction
- Controls respond as programmed
- Filters are installed and seated properly
- Frost protection activates as designed
- No abnormal noise, vibration, leakage, or condensation appears
Measuring and balancing airflow is the step that can't be skipped. Use calibrated airflow instruments against the project's design targets, not estimates based on fan dial settings. Record every adjustment rather than relying on memory or "close enough" judgment calls — this is standard practice in formal testing, adjusting, and balancing (TAB) work.
Where the HRV operates near furnaces, boilers, fireplaces, kitchen hoods, dryers, or other air-moving equipment, verify building pressure and system interaction. Combustion-safety testing may be required by code or by the project's engineer.
Finally, complete commissioning documentation: airflow readings, settings, control sequences, filter type, maintenance access, alarms, warranty information, as-built duct routes, and any outstanding corrective actions. A unit can run quietly while still delivering insufficient outdoor air, exhausting too much or too little, creating pressure problems, or imposing unnecessary fan and heating loads. Validation is the only way to catch that.
Common Installation Problems and Fixes
Most field issues trace back to a handful of root causes. Here's how to recognize and address the three most common ones.
Inadequate or Unbalanced Airflow
Problem: Supply and exhaust readings don't match the design intent, or specific rooms receive too little air.
Likely cause: Undersized or overly long ductwork, closed dampers, blocked filters, poor balancing, or excessive static pressure from too many bends.
Fix: Recheck the original design, inspect the full duct system for restrictions and leakage, and recommission using calibrated instruments rather than fan-speed guesswork.
Condensation, Frost, or Water Leakage
Problem: Moisture shows up around the unit or ducts, the core frosts excessively, or condensate backs up.
Likely cause: Missing insulation, incorrect drain slope or trap, blocked drainage, or installation in an unconditioned space without proper frost protection.
A government field survey of HRV and ERV installations in Canada's northern regions found condensation trapped inside insulated flexible ducts and freeze-ups directly tied to balancing problems. That cold-climate pattern is worth watching wherever ducts run through unconditioned space.
Fix: Follow the model-specific drain and frost-protection requirements, restore insulation and air-sealing, clear the drainage path, and have a technician confirm operating settings.
Excessive Noise, Drafts, or Pressure Complaints
Problem: Occupants report fan noise, whistling, cold drafts, odors, or doors that stick or won't open easily.
Likely cause: Poor vibration isolation, fan speed set too high, turbulent duct transitions, incorrect terminal placement, or interaction with other exhaust equipment in the building.
Fix: Inspect supports and duct geometry, verify controls and airflow balance, check building pressure, and revise the duct design where the HRV is being forced to fight unsuitable ductwork.

Pro Tips for Installing an HRV Effectively
A few habits separate installations that perform for 20 years from ones that generate service calls within a year:
- Coordinate trades early: Map concealed utilities in retrofit work and schedule noisy or disruptive tasks around occupancy, especially in schools, offices, and multifamily buildings.
- Protect performance in the field: Keep ducts clean, seal every joint and penetration, and insulate runs in unconditioned spaces—recalculate pressure drop before any last-minute reroute.
- Preserve service access: A unit buried behind storage or wedged into a tight corner will not get filters changed on schedule.
- Deliver a real handover: Walk the owner or facilities team through normal and boost modes, filter checks, summer vs. winter operation, and what to do when an alarm hits.
- Call a specialist when stakes are high: Sizing, combustion safety, hazardous process exhaust, complex controls, and final commissioning all benefit from experienced review.
Conclusion
Installation quality drives everything downstream: indoor air quality, comfort, energy performance, equipment life, and building safety. An HRV is a balanced ventilation system, and it only performs as well as its weakest connection.
Before the system goes into regular service, get these fundamentals right:
- Careful planning
- Manufacturer-compliant installation
- Airtight, insulated ductwork
- Proper system integration
- Documented airflow balancing
Reliable equipment on a reasonable maintenance schedule can deliver well over 20 years of service. That lifespan still starts with a correct install.
Frequently Asked Questions
How much does it cost to install a heat recovery ventilation system?
Cost depends on equipment capacity, property size, ductwork length and accessibility, electrical and condensate work, exterior penetrations, controls, and retrofit complexity. Get a project-specific quote rather than relying on a generic online range.
How much does a heat recovery unit cost?
Equipment-only pricing differs significantly from total installed cost. Model capacity, recovery performance, controls, filtration, and included accessories like bypass dampers all affect the final price.
Where should an HRV be installed?
Install the unit in a dry, accessible spot with power, structural support, and condensate drainage if needed. Confirm practical duct routes to indoor and outdoor terminations before you lock in the location.
Can I add an HRV system to my existing house?
Yes, retrofits are common when there's space for the unit and ductwork. Concealed routing, exterior penetrations, existing HVAC compatibility, and building tightness all need assessment first, and commissioning still applies.
Are heat recovery units worth it?
Yes, when you need continuous fresh air without dumping heated air outside. Comfort and efficiency gains hold up if the system is sized, commissioned, and maintained—and you accept the upfront cost and ductwork work.
Should I turn off HRV in summer?
Most HRVs are meant to run year-round. Summer settings depend on outdoor conditions, bypass mode, and manufacturer guidance. An HRV will not replace air conditioning or dehumidification.